Are you ready to take your latte game to the next level? If you’ve ever admired the beautiful designs swirling on top of your coffee cup and wondered how they were created, look no further. In this article, you will learn the secrets to creating latte art like a pro. From basic techniques to advanced designs, we’ll guide you through the process step by step, helping you transform your morning coffee into a stunning work of art. Get ready to impress your friends and elevate your coffee ritual to new heights.
Choosing the Right Coffee
When it comes to creating latte art like a pro, the first step is choosing high-quality coffee beans. The quality of the beans directly impacts the flavor and aroma of your espresso, which serves as the base for your latte art. Look for specialty coffee beans from reputable sources, as they are often roasted to perfection and offer a wide range of flavor profiles.
Experimenting with different coffee blends can also elevate your latte art game. Try various single-origin beans or blends with unique flavor notes such as hints of chocolate, caramel, or berries. By exploring different combinations, you can find the perfect balance that complements your chosen latte art design.
Grinding the coffee beans to the right consistency
Once you have chosen the perfect coffee beans, it’s essential to grind them to the right consistency. The grind size affects the extraction of flavors during the brewing process. For latte art, a fine to medium-fine grind is recommended.
Investing in a high-quality burr grinder is crucial as it allows you to achieve a consistent grind size, ensuring even extraction and a balanced flavor profile. Avoid blade grinders, as they tend to produce an uneven grind, resulting in an inconsistent brew.
Experimenting with different coffee blends
While the coffee beans are the foundation for creating exquisite latte art, the milk plays an equally important role. Preparing the milk correctly is vital to achieve the desired texture and consistency for your latte art designs.
Using cold fresh milk is essential as it provides better foaming and texture. Avoid using milk that has been sitting at room temperature for too long, as it can affect the quality of the foam and make it challenging to achieve latte art perfection.
When selecting the right milk fat content, consider the balance you want between the richness of the milk and the focus on the latte art design. Whole milk with its higher fat content tends to create a more velvety texture, while skim or low-fat milk allows for better definition in intricate designs.
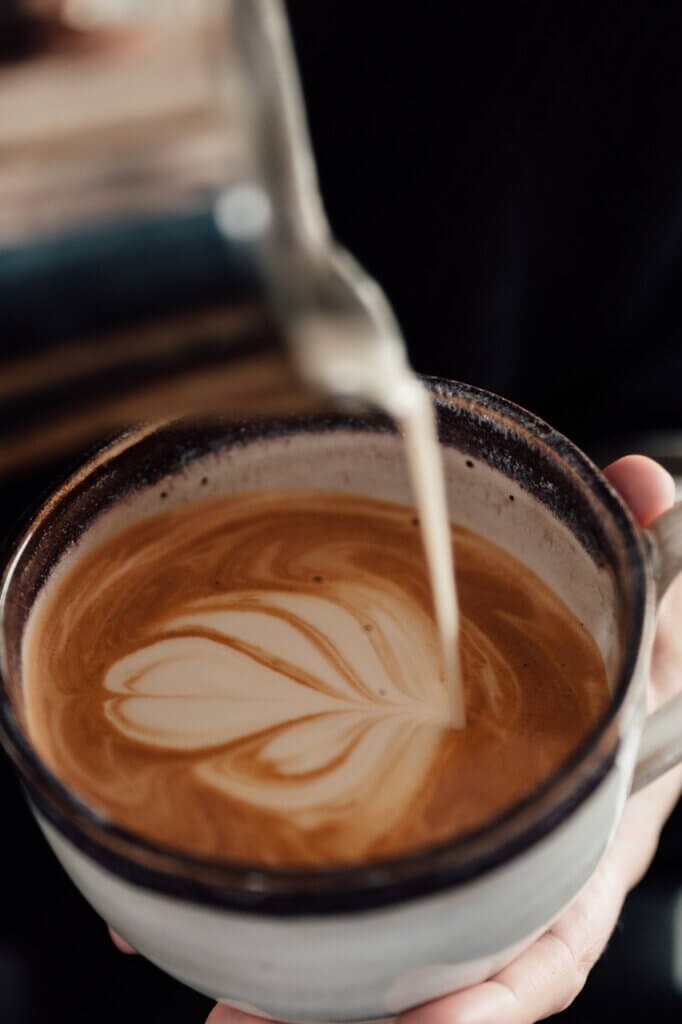
Properly steaming the milk is the key to achieving the desired consistency for your latte art. To avoid scorching the milk, start with a cold pitcher and purge any residual water from the steam wand before use. Position the wand just below the surface of the milk and create a whirlpool motion to promote even heating and a smooth, creamy texture.
Essential Tools and Equipment
To create latte art like a pro, having the right tools and equipment is essential. Here are some essential items that will help you achieve the perfect canvas for your latte art creations:
-
Quality Espresso Machine: Investing in a reliable espresso machine ensures consistent brewing temperatures and pressure, leading to better extraction and flavor. Look for models with a PID (Proportional Integral Derivative) controller, as they offer precise temperature control.
-
Steaming Pitcher: A high-quality steaming pitcher with a tapered spout allows for better control during the milk steaming process. Look for a size that matches your typical serving size and has a comfortable grip.
-
Thermometer: Using a thermometer is crucial to achieving the ideal milk temperature for latte art. Aim for a range between 140°F to 160°F (60°C to 71°C) for a sweet spot between flavor and texture.
-
Latte Art Pen or Toothpick: These fine-tipped tools help you add intricate details and refine your latte art designs. They allow for better control, especially when creating more complex designs.
Mastering the Basics
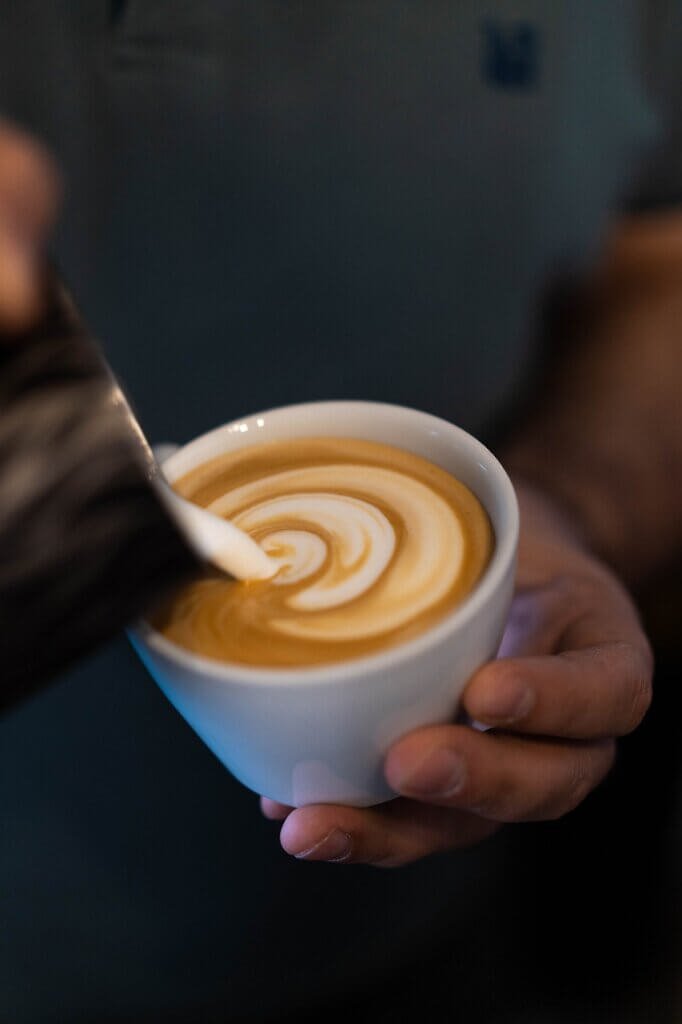
Before diving into complex latte art designs, mastering the basics is essential. Understanding the pouring technique is the foundation of creating latte art. Start by pouring milk into the center of the espresso shot, gradually raising the pitcher to create a light and thin stream. As the cup fills, pour in a circular motion and maintain a consistent speed.
Achieving the right milk consistency is equally important for creating latte art. The milk should have a smooth and velvety texture, with microfoam that is dense and uniform. Practice steaming the milk until you can consistently achieve this ideal consistency, as it sets the stage for creating visually appealing designs.
Creating a solid foundation for latte art involves perfecting the base espresso shot. Ensure that your espresso extraction is balanced, with a rich crema and no signs of over or under extraction. This serves as the backdrop for your latte art and enhances the overall presentation.
Pouring Latte Art Designs
Once you have mastered the basics, it’s time to explore various latte art designs. Here are some popular designs to try:
Heart
The heart is a classic and straightforward design to begin with. Start by pouring the milk into the center of the cup, then gently wiggle the pitcher back and forth as you continue pouring. Finally, pull the stream upward through the center to create the top of the heart.
Rosetta
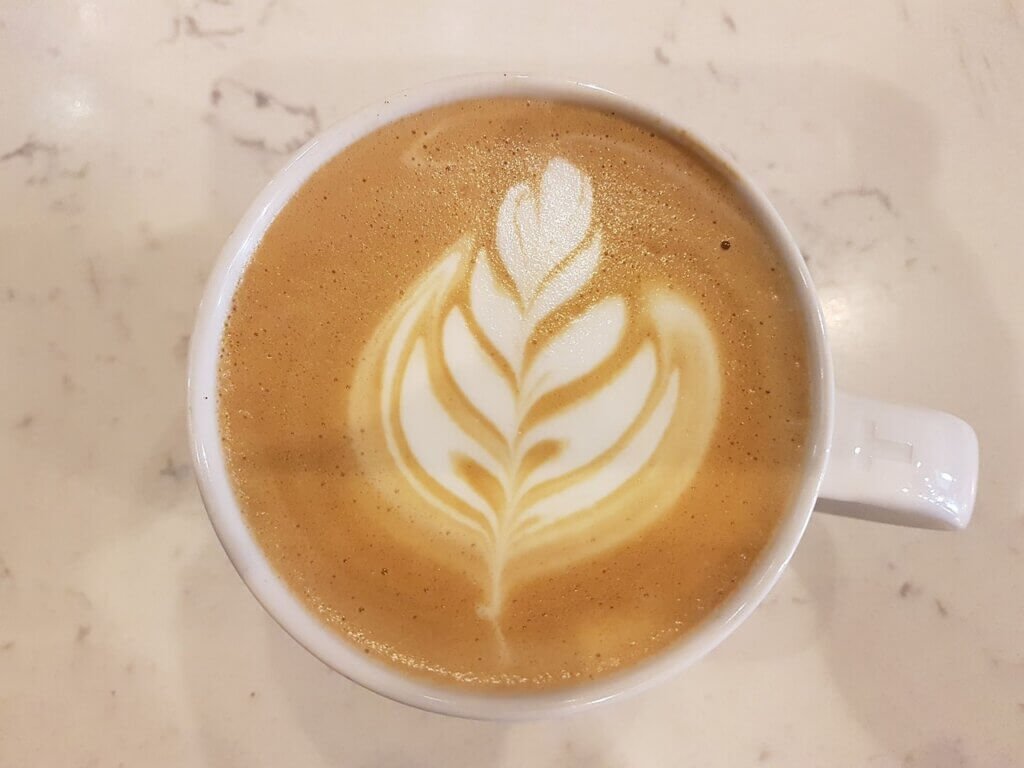
The rosetta is a more intricate design that requires a bit more skill. After pouring the milk into the center of the cup, gently wiggle the pitcher in a zigzag motion as you move towards the rim. As you reach the edge, finish with a quick pull through the center to form the leaves of the rosetta.
Tulip
The tulip design consists of multiple layers and requires precise control. Pour the milk slowly into the center of the cup, then create a circular motion while moving the pitcher towards the rim. As you reach the edge, move the stream back towards the center, creating a series of concentric circles. Finish with a steady, controlled pull upwards to complete the tulip.
Swan
The swan design is known for its elegance and requires a steady hand. Pour the milk into the center of the cup, then wiggle the pitcher back and forth as you move towards the rim. With a slight angle, create a long pour followed by a quick pull through the center, forming the neck and head of the swan. Finish the design with a thin stream to create the wings.
Bunny
The bunny design is a fun and playful option for latte art. Pour the milk into the center of the cup, then quickly wiggle the pitcher while pouring towards the rim. As you reach the edge, pull the stream upwards to create the ears of the bunny. Finally, use a latte art pen or toothpick to add eyes and other details.
Flower
The flower design is a delicate and intricate option for advanced latte artists. Begin by pouring the milk into the center of the cup, then create a circular motion while moving the pitcher towards the rim. As you reach the edge, slowly pull the stream back towards the center, forming a series of loops. Finish by pulling a thin stream through the center to create the stem.
Advanced Techniques
Once you have mastered the basic latte art designs, you can explore advanced techniques to take your latte art to the next level. Here are a few techniques to consider:
Etching
Etching involves the use of a latte art pen or toothpick to create intricate designs on the surface of the latte foam. After pouring your desired latte art design, gently etch lines or patterns onto the foam to add depth and dimension. This technique allows for greater creativity and personalization in your latte art.
Layering
Layering involves pouring different color layers of milk to create unique designs and patterns. By carefully controlling the pouring speed and technique, you can create contrasting layers of foam and crema, resulting in visually stunning latte art. Experiment with different pouring techniques and colors to create eye-catching designs.
Free Pouring
Free pouring is a technique that allows for more spontaneous and creative latte art designs. Instead of relying on predefined patterns or etching, you pour the milk freely, incorporating swirls, hearts, and other shapes as you go. This technique requires a high level of skill and provides a more artistic and organic feel to your latte art.
Troubleshooting Common Issues
While creating latte art, it is common to encounter a few challenges along the way. Here are some common issues and how to troubleshoot them:
Milk not frothing correctly
If your milk is not frothing correctly, it may be due to improper steaming technique or using the wrong type of milk. Ensure that you are using cold fresh milk and that your steam wand is positioned just below the surface of the milk. Check the steam pressure and purge any residual water before frothing. Adjust the position of the steam wand or experiment with different milk types to achieve the desired frothing consistency.
Design disappearing into the drink
If your latte art design is disappearing into the drink too quickly, it may be because the milk foam is not dense enough. Make sure to achieve a creamy and velvety texture during the steaming process. Additionally, be mindful of the temperature of the milk, as hotter milk can cause the foam to dissolve more quickly. Adjust your steaming technique and milk temperature to create a more stable foundation for your latte art.
Design lacking definition
If your latte art design lacks definition or the lines appear blurry, it may be due to improper pouring technique or a lack of contrast between the milk and espresso. Practice your pouring technique to achieve more precise and consistent lines. Additionally, experiment with different milk types or adjust the milk-to-espresso ratio to create better contrast and definition in your latte art.
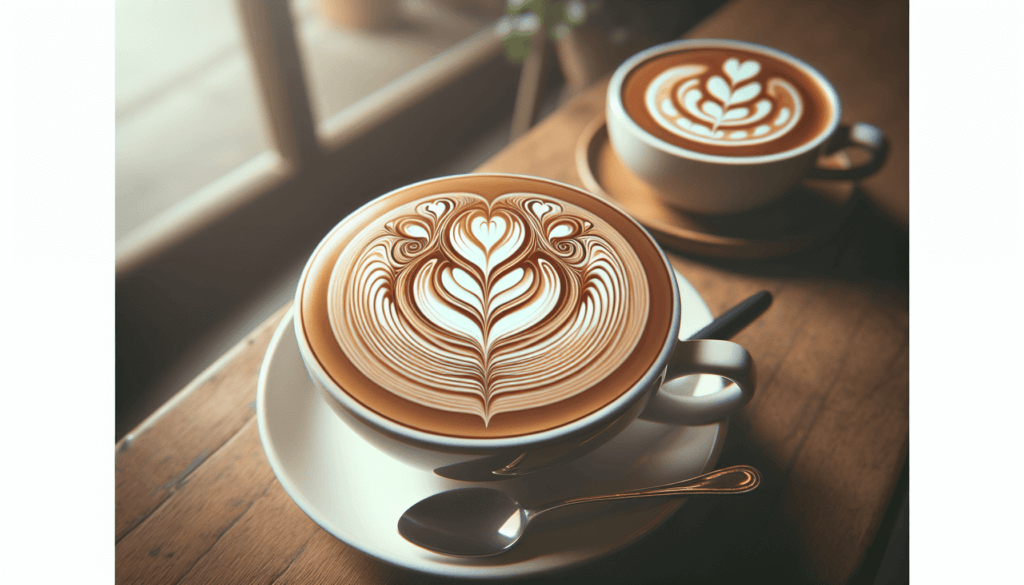
Practice Makes Perfect
Creating latte art requires dedication and practice. To improve your skills and become a true latte art pro, consider the following tips:
Dedicating time and effort to practice
Set aside dedicated time to practice your latte art skills. Treat it as an art form and consistently work on different designs and techniques. By practicing regularly, you will develop muscle memory and improve your ability to pour intricate and beautiful latte art.
Keeping a sketchbook for ideas and improvement
Having a sketchbook specifically for latte art allows you to sketch out and plan your designs before pouring. It provides a space for experimentation, refining your technique, and noting what works and what doesn’t. Refer back to your sketchbook for inspiration and to track your progress over time.
Participating in latte art competitions or workshops
To push your latte art skills to new heights, consider participating in latte art competitions or attending workshops. These events provide opportunities to learn from experienced baristas, receive feedback on your technique, and network with other latte art enthusiasts. The valuable guidance and inspiration gained from these experiences can greatly enhance your latte art journey.
Photographing Your Latte Art
Once your latte art is complete, capturing it in all its glory is essential. Here are a few tips to help you photograph your latte art like a pro:
Capturing the latte art at the right angle and lighting
Position your camera or mobile device at a slight angle to highlight the details and texture of the latte art. Experiment with different angles to find the one that best showcases your design. Natural lighting is ideal for capturing the richness of the colors, but avoid direct sunlight, as it can wash out the details. Soft, diffused lighting or even a lightbox can help create an appealing overall presentation.
Using props and backgrounds to enhance the presentation
Consider incorporating props and backgrounds that complement your latte art design. This could include fresh ingredients such as coffee beans, cinnamon powder, or chocolate shavings. Additionally, selecting a backdrop that contrasts or enhances the colors of your latte art can make your photos more visually appealing. Experiment with different elements to create a unique and eye-catching presentation.

Sharing Your Latte Art
Now that you have created stunning latte art, it’s time to share it with the world. Here are a few ways to showcase your creations:
Posting on social media
Social media platforms such as Instagram, Facebook, and TikTok provide an excellent platform to share your latte art with a wide audience. Take high-quality photos or videos of your latte art and craft engaging captions that highlight your creativity and passion. Use relevant hashtags to reach a broader audience of coffee and latte art enthusiasts.
Sharing with friends and family
Invite your friends and family over for a coffee tasting session and surprise them with your latte art creations. Showcasing your skills in a more intimate setting allows for personal connections and immediate feedback. It’s a great way to spread joy and share your passion for latte art with loved ones.
Collaborating with local coffee shops or cafes
Reach out to local coffee shops or cafes and inquire about the possibility of collaborating on a latte art showcase or event. Many establishments are open to featuring the work of talented latte artists, as it adds a unique and artistic touch to their offerings. Collaborating with professionals in the industry can provide valuable exposure and opportunities to further develop your latte art skills.
In conclusion, creating latte art like a pro involves several key factors, including choosing the right coffee beans, mastering milk preparation, and acquiring the necessary tools and equipment. By focusing on the basics, exploring various designs, practicing advanced techniques, troubleshooting common issues, and showcasing your latte art through photographs and sharing, you can elevate your latte art skills to a professional level. Enjoy the journey of mastering this art form and delight yourself and others with visually stunning latte creations.

